Craving a rich, velvety banana milkshake but want to skip the ice cream? You've come to the right place! Forget the processed ingredients and indulgent desserts; we're about to show you how to make a banana milkshake that's thick, creamy, and utterly delicious, using only natural, wholesome ingredients. This homemade banana shake is a perfect treat any time of year, offering a fantastic energy boost and a delightful flavour without compromise.
A classic banana milkshake often relies on ice cream for its signature thick texture and sweetness. However, whether you're aiming for a healthier option, managing dietary preferences, or simply don't have ice cream on hand, achieving that luxurious consistency is entirely possible. We'll dive into the clever tricks and ingredients that transform a simple banana and milk into a luscious, scoop-worthy shake, packed with nutrition and flavour. Prepare to revolutionize your shake game!
Unlocking the Secret to a Thick & Creamy Banana Milkshake Without Ice Cream
The quest for a truly thick banana milkshake without ice cream begins with understanding the core elements that contribute to its texture. It's all about strategic ingredient choices and blending techniques. Here's how to achieve that coveted creaminess:
The Magic of Frozen Bananas
This is arguably the most crucial secret weapon. While fresh bananas are perfectly fine, frozen bananas are a game-changer. They act as a natural thickener and chill the shake without diluting the flavour, much like ice cream would. When frozen, bananas develop a denser, almost custard-like texture that, when blended, creates an incredibly rich and smooth base. For best results, peel ripe bananas, break them into chunks, and freeze them in a single layer in a freezer-safe bag for at least 4 hours, or overnight.
Nutty Power for Richness and Protein
Incorporating nuts or nut butters is another fantastic way to add creaminess, healthy fats, and a significant protein boost to your banana milkshake. The natural oils and fibres in nuts contribute to a luxurious mouthfeel that mimics the richness of ice cream.
- Cashews: As hinted in traditional recipes, cashews are stellar for this purpose. Their mild flavour and naturally buttery texture blend into an incredibly smooth, creamy consistency. For optimal digestibility and creaminess, you can even soak them in hot water for 15-20 minutes (or cold water for 3-4 hours) before blending.
- Almonds or Walnuts: These provide a slightly earthier flavour and a good dose of omega-3s. Like cashews, they add body and healthy fats.
- Nut Butters: A couple of tablespoons of your favourite nut butter – peanut, almond, or cashew butter – can instantly thicken your shake and infuse it with delicious flavour and protein. Ensure you choose natural, unsweetened varieties to control the sugar content.
Sweeteners with Substance: Dates and More
While sugar or honey can certainly sweeten your shake, certain natural sweeteners also contribute to its body and nutritional value.
- Dates: Pitted dates are an excellent choice. They provide natural sweetness, fibre, and a lovely caramel-like flavour. When blended, they add a subtle thickness. Keep in mind that a generous amount of dates can alter the colour of your shake.
- Maple Syrup or Agave Nectar: These liquid sweeteners offer sweetness without affecting texture much, but are healthier alternatives to refined sugar.
Mindful Milk Choices
The type and amount of milk you use significantly impact the final consistency. To achieve a thick shake, use less milk than you might for a thinner drink. Start with a smaller amount and add more only if needed to achieve your desired consistency.
- Dairy Milk: Full-fat dairy milk will naturally yield a creamier result than skim milk.
- Vegan Milks: For those avoiding dairy, unsweetened almond milk, oat milk, or coconut milk (especially the canned variety for extra richness, though this will impart a distinct flavour) work beautifully. Many traditional and health-conscious approaches, like Ayurveda, suggest avoiding fruit and dairy combinations. If this resonates with you, or you simply prefer plant-based options, these are fantastic choices. For more on navigating these choices, check out Banana Milkshake: Healthy Vs. Ice Cream Shop Style – Which is For You?
Health Benefits Beyond Indulgence
Beyond being incredibly tasty, a homemade banana milkshake, especially one made with whole, natural ingredients, offers a wealth of nutritional advantages. Bananas are famous for their potassium content, essential for heart health and muscle function. They also provide dietary fibre, supporting digestive health, and a range of vitamins, including Vitamin B6 and C.
When you add nuts or nut butter, you introduce healthy monounsaturated and polyunsaturated fats, which are crucial for energy and nutrient absorption, along with a significant protein boost. Dates contribute fibre, iron, and antioxidants. This combination makes for an energy-boosting drink that can help fuel your mornings, serve as a satisfying post-workout recovery, or simply be a nutritious snack that keeps you feeling full and energized.
Your Go-To Recipe: How to Make a Banana Milkshake (Ice Cream Free!)
This recipe focuses on maximizing creaminess and thickness without a single scoop of ice cream.
Ingredients You'll Need
- 2-3 ripe bananas, frozen in chunks: (Essential for thickness and chill)
- 1-1.5 cups chilled milk: (Dairy or plant-based, adjust for desired thickness)
- 1/4 cup raw cashews (optional, but highly recommended for creaminess): Soaked briefly if desired.
- 2-4 pitted dates (optional, for natural sweetness and fibre): Adjust to taste.
- 1 teaspoon vanilla extract: For enhanced flavour.
- 1/2 teaspoon ground cinnamon or 1/4 teaspoon cardamom powder (optional): For a warm, aromatic touch.
- Pinch of sea salt (optional): Balances sweetness and brightens flavours.
Simple Step-by-Step Instructions
- Gather Your Ingredients: Ensure your bananas are frozen solid. Have your cashews, dates, milk, and flavourings ready.
- Load the Blender: Add the frozen banana chunks, cashews (if using), pitted dates (if using), vanilla extract, cinnamon or cardamom (if using), and a pinch of salt to a high-speed blender.
- Add the Milk: Pour in 1 cup of chilled milk. Start with this amount; you can always add more if the shake is too thick to blend.
- Blend Until Smooth: Secure the lid and blend on high speed until the mixture is completely smooth and creamy. You may need to stop and scrape down the sides of the blender a few times. If the blender struggles, add milk in very small increments (1-2 tablespoons at a time) until it blends freely. The goal is a thick, homogeneous consistency, without any chunks of banana or nuts.
- Taste and Adjust: Taste your milkshake. If you prefer it sweeter, add another date or a tiny drizzle of maple syrup and blend again. If it's too thick, add a splash more milk and blend briefly.
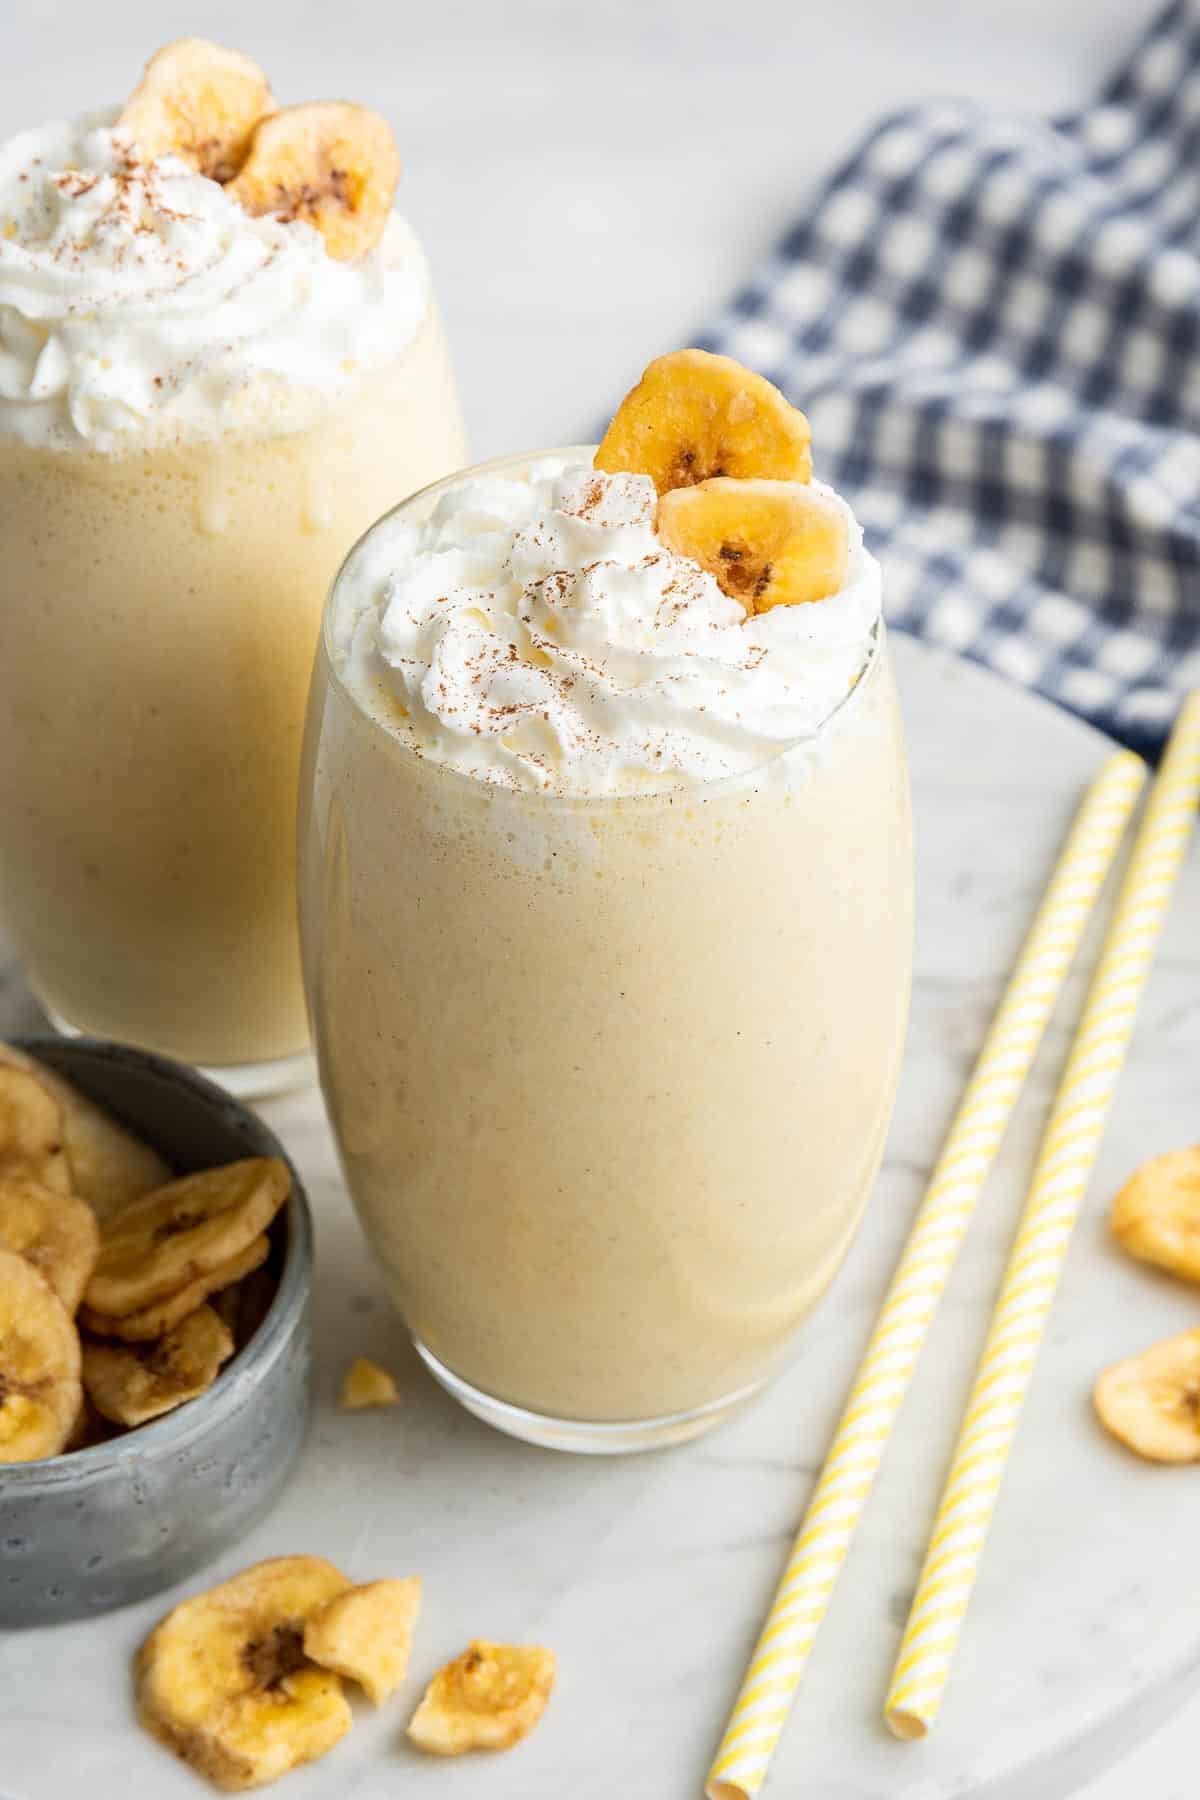
- Serve Immediately: Pour your thick, creamy, ice-cream-free banana milkshake into a glass and enjoy! Garnish with a sprinkle of cinnamon, a slice of fresh banana, or a few chopped nuts if desired.
Customizing Your Creamy Concoction
The beauty of a homemade banana milkshake lies in its versatility. Once you've mastered the basic thick, ice-cream-free recipe, feel free to experiment:
- Protein Power-Up: For an extra boost, add a scoop of your favourite protein powder (whey, pea, or rice protein). This makes it an ideal post-workout drink.
- Green Goodness: Sneak in a handful of spinach or kale. You won't taste it, but you'll benefit from the added vitamins and minerals.
- Chocolate Lover's Dream: Add a tablespoon of unsweetened cocoa powder or cacao powder for a chocolate-banana delight.
- Nutrient Boosters: A tablespoon of chia seeds or flax seeds can add omega-3s and further thicken the shake as they absorb liquid (consider soaking chia seeds in a small amount of milk for 10 minutes beforehand to prevent clumping).
- Tropical Twist: A few pieces of frozen pineapple or mango can transform your shake into a tropical paradise.
Pro Tips for the Ultimate Banana Milkshake
- Use Ripe Bananas: Always use ripe bananas (with brown spots) for the best flavour and natural sweetness.
- High-Speed Blender: A good quality high-speed blender will yield the smoothest, creamiest results. If you have a less powerful blender, ensure your banana chunks are smaller and consider soaking nuts longer.
- Don't Over-Blend: Blend just until smooth. Over-blending can sometimes warm the shake slightly, especially with powerful blenders.
- Chill Your Glass: For an extra cold treat, place your serving glass in the freezer for a few minutes before pouring.
Making a thick and creamy banana milkshake without ice cream is not only easy but also opens up a world of healthier, more natural options. By leveraging the power of frozen bananas, nuts, and mindful milk choices, you can create a satisfying, nutrient-dense drink that rivals any ice cream shop creation. So go ahead, blend up this delightful concoction, and savour every rich, flavourful sip knowing it's packed with goodness.
